Blog
-
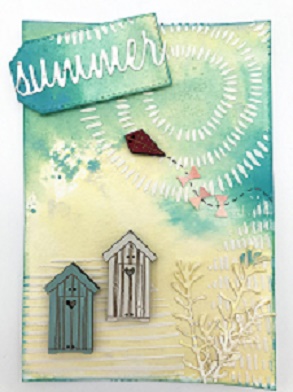
A little of summer
- On 06/02/2021
Get away to the sea thanks this card made by Sabrina Esneault.
With bright colours and a sunny mood that will inspire you to enjoy beach and its soft sand.
Prepared with our buttons, Sabrina knew through this card how to immerse us in a summer atmosphere which will enchant you !
-
The Shepherd's sisters
- On 06/02/2021
It has been two years since we have made the pleasant discovery of the Shepherd's sisters.
They grew up surrounded by a creative atmosphere since their whole family enjoyed creating together.
It took them 28 years to create the huge needle work store they are today !
It seems that the sisters never run out of ideas, so they never stop creating.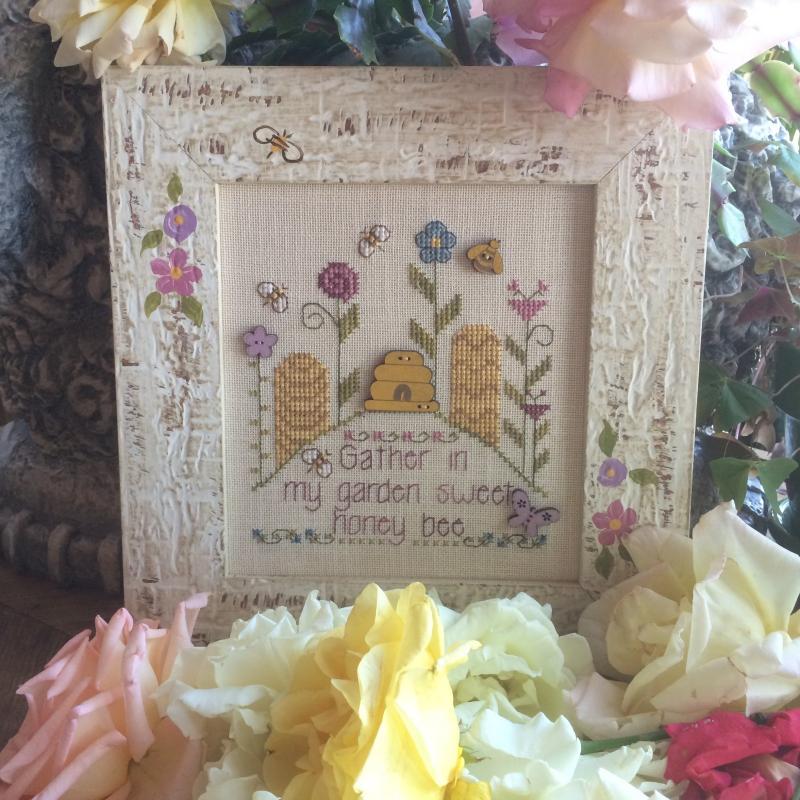
-
Lavender cushions
- On 15/07/2020
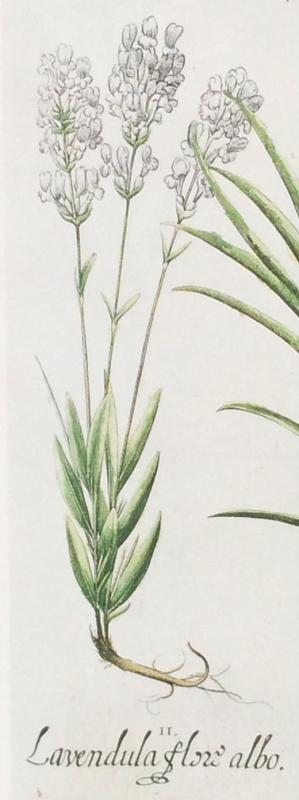
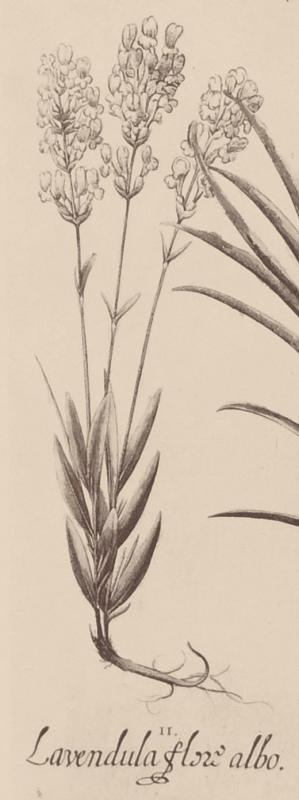
Lavender is in bloom! Its smells is just perfect and flowers are now waiting for our little burlaps!
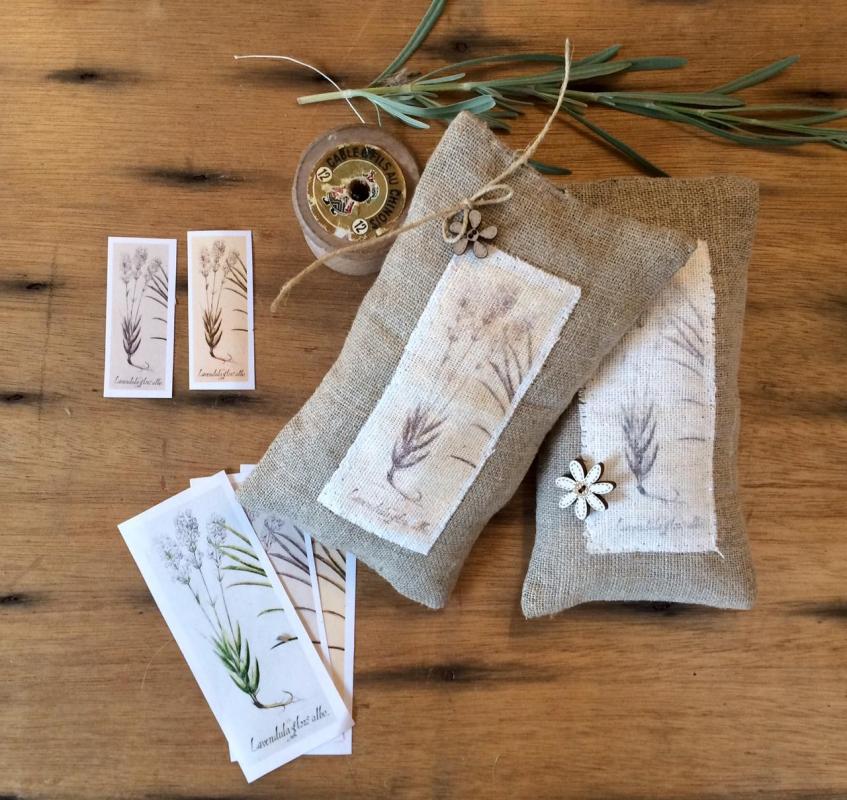
This year,I will sew mini linen cushions with a 'Lavender' textile tag.
I have a beautiful botanic book that I'am never tired of looking .... lavender drawings are there of course!
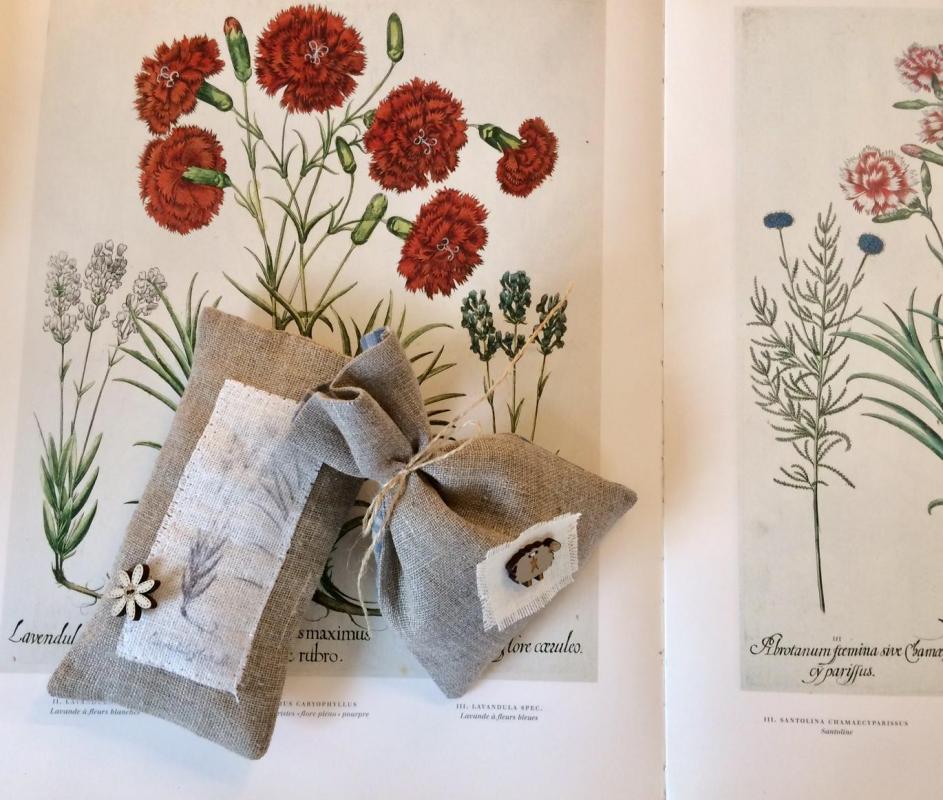
Here they are, a little modified and adapted to the size of the cushions I wanted to make.
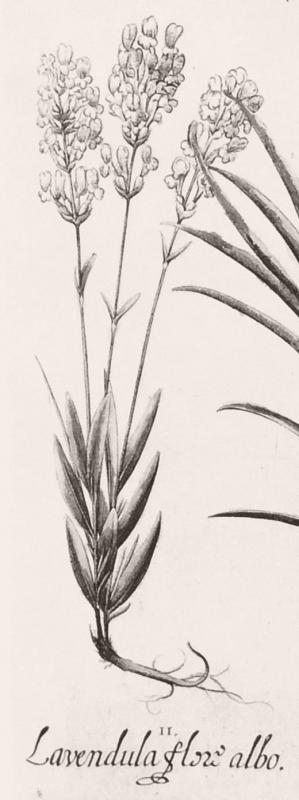
I printed them on textile. It is very simple if your printer allows it. Just tape a piece of linen (I used a cream linen) on a sheet of paper.
Use our designs and launch your printer. The inks will not be fixed and may disappear with water. Realization of the cushion:
What you need:
- 2 pieces of linen (18x11 cm)
- accessories (button, lace or any accessory you like)
-Lavender of course
Center & sew the printed tag on on piece of linen. Sew your button.
Place both rectangles of linen, right side on right side.
Sew them, leave a small side open.
Turn the cushion on the right side, iron it slightly and fill it with lavender.

Close the opened side using invisible stitches.
I wish you a nice & perfumed summer!
-
folding furoshiki way
- On 23/05/2019
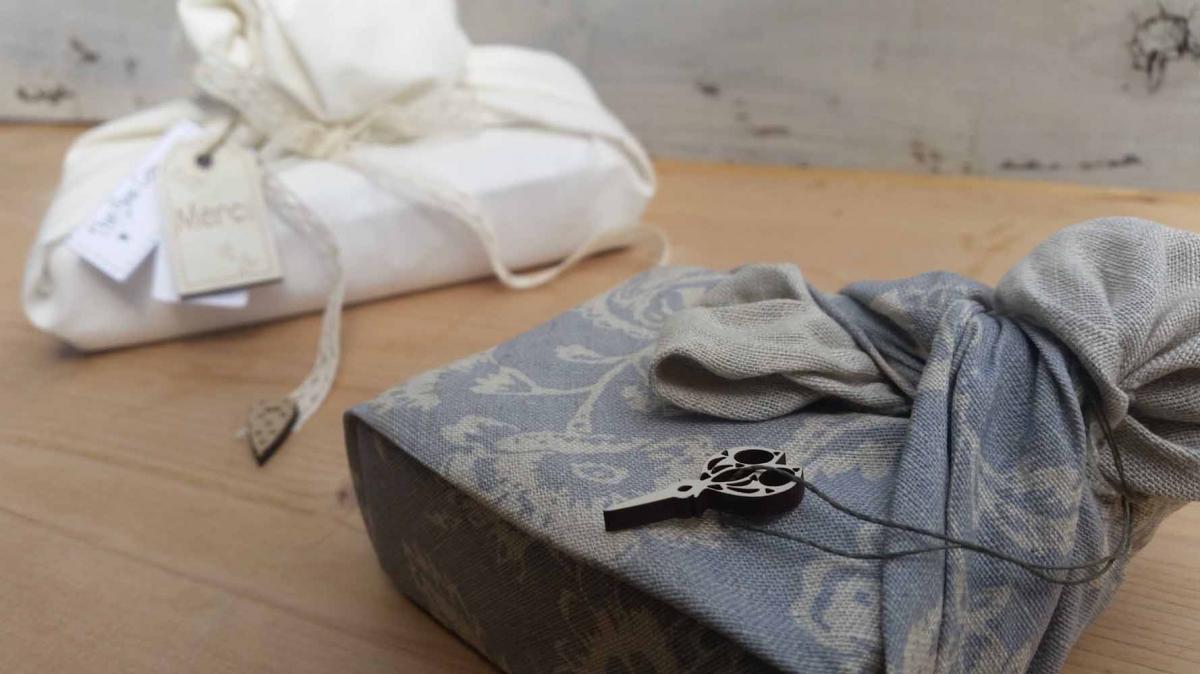
You have small pieces of fabrics that hang out and you don't know how to use them, discover the art of Furoshiki!
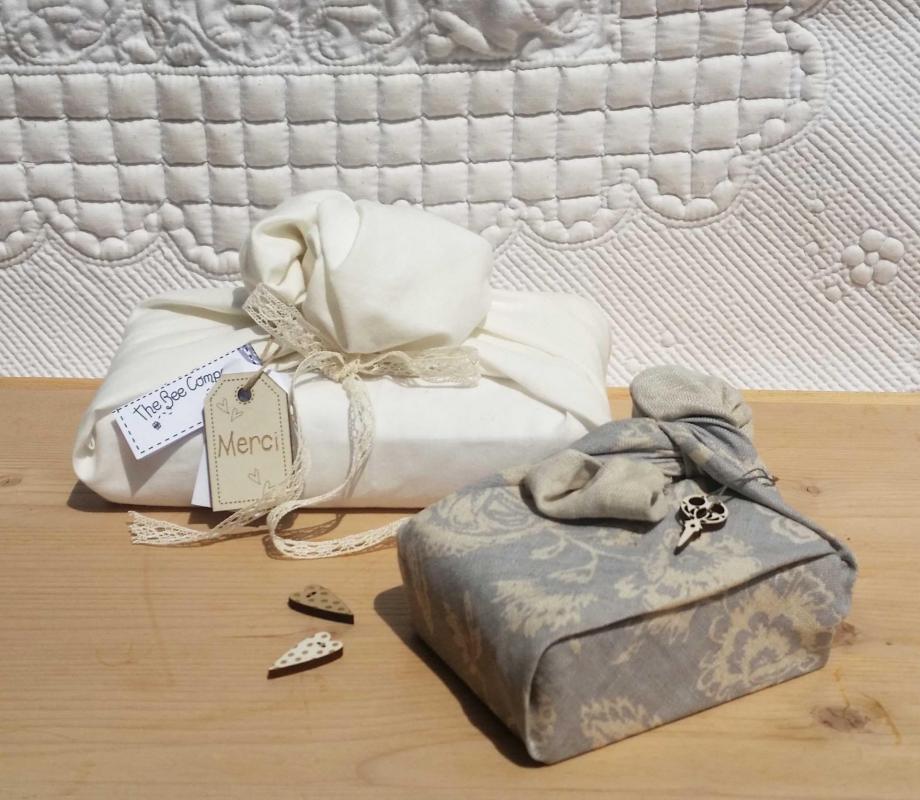
Furoshiki, traditional technique of Japanese packaging, is the art of reusing fabrics and textils
for decorative and creative projects.
It is an ecological and original alternative in gift wrapping for your family and friends or just for your own fun.
I had the opportunity to test this art by taking inspiration from various tutorials and fabrics that were hanging in
my workshop. It requires a little patience but it's worth it and l was really proud of my little gift wrap.
Discover them, l use few of our buttons, tags, or you can also use ribbons, cards..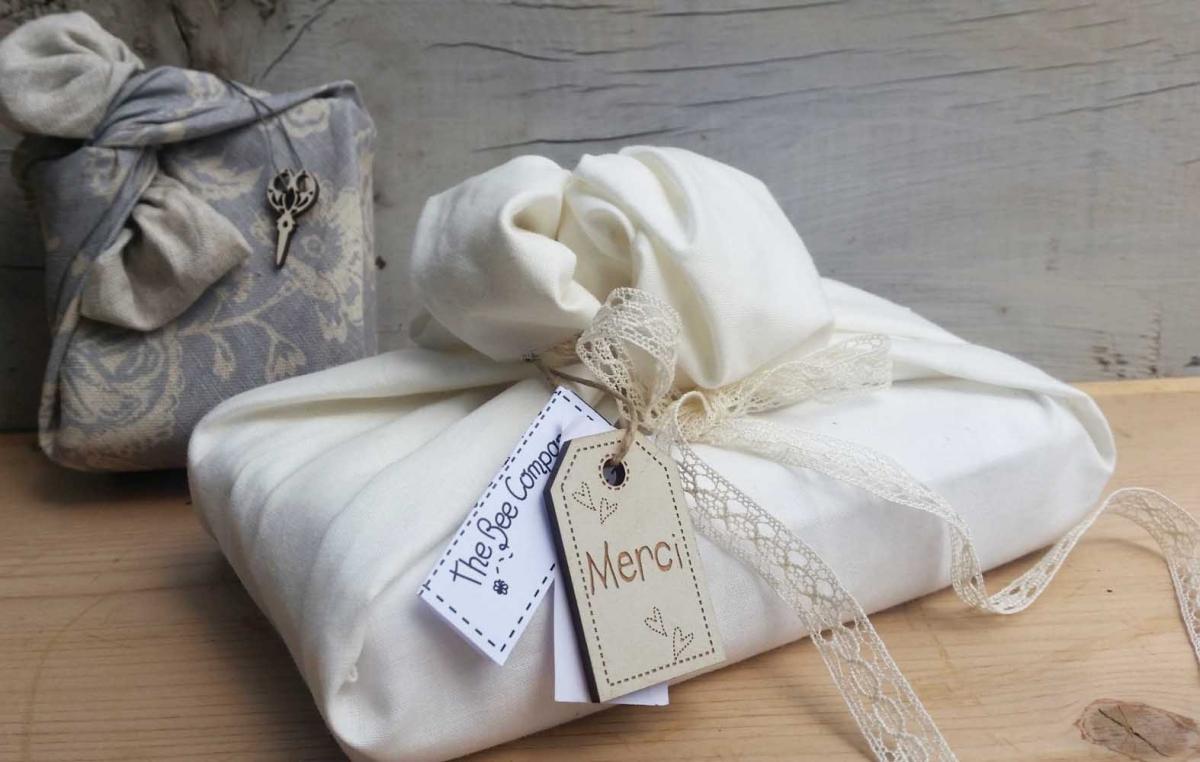
I found some tips on the links below:
http://regalisfiziosi.it/confezioni-regalo/wrapping-giapponese-esempio-4/
-
Heart in hand
- On 01/06/2018
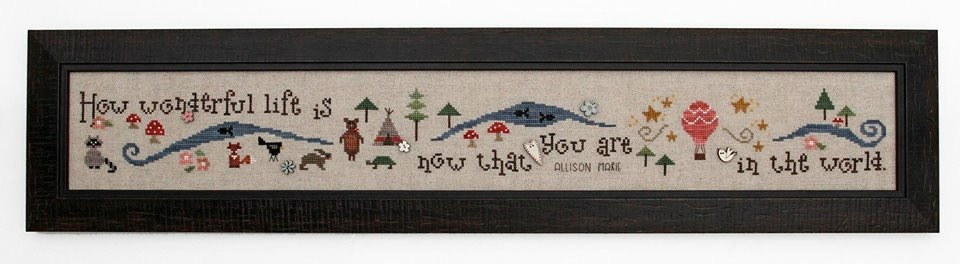
I am glad to show you the amazing work of an american designer that I especially like: Cecilia Turner.
She is the founder and designer of Heart in Hand Needleart.
The company was founded in 1994 and is famous today for its different crossstitch designs, kits or leaflets.
We admire the attention she puts in details through her crosstitch artwork. Here, each element brings more personality and depth to the sheet she imaginated.
Buttons had, sometimes, the chance and opportunity to slide through them, in order to blend with the atmosphere of a design made in america.
-
Scrap "Love"
- On 22/02/2018
- In Scrapbooking
We allways should say "I love you" to the ones we cherish!
What a better way to do it than a nice card created by you with a lot of love.
Charming & just simple... here is the card my Friend Chantal created with the buttons "birds & heart".
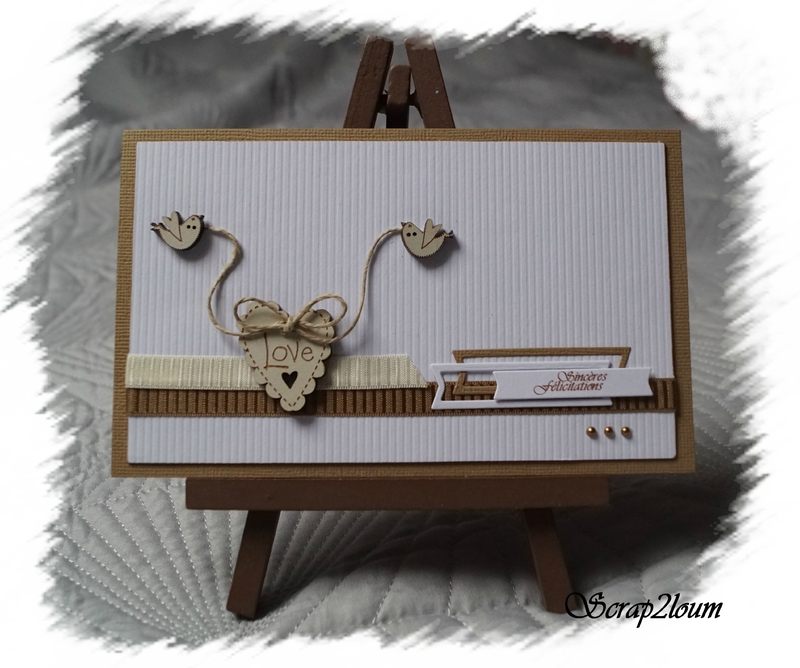
The buttons exist in cream...
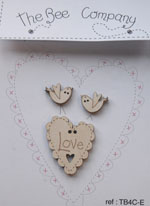 and also in Burgundy for other nice projects.
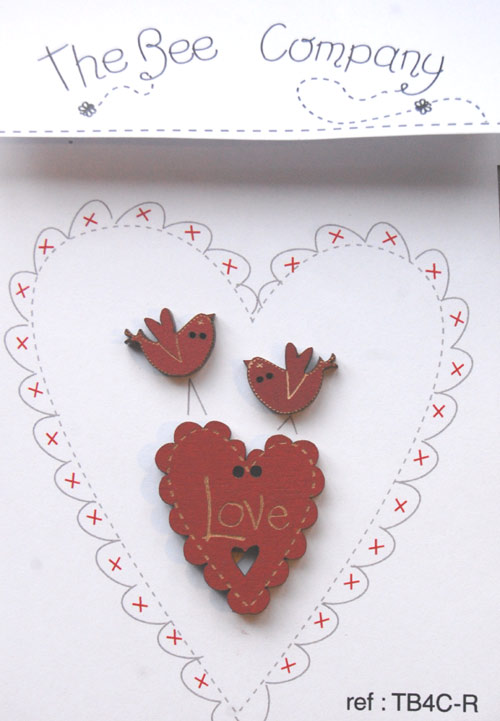
Here is the link of Chantal's blog for all a great ideas:
http://scrap2loum.canalblog.com/
A nice creative day to all of you!
Delphine
-
Let's scrap!
- On 22/02/2018
- In Scrapbooking
Lif is allways full of nice creative surprises!
In mine, I crossed Chantal, a charming "Scrap" girl, adorable and so delicate. I challenged here and she decided to use my buttons for her scrapbooking projects.
I am so proud now to show you her beautifuls scraps.
Here is her card, for all the "Valentine" girls!
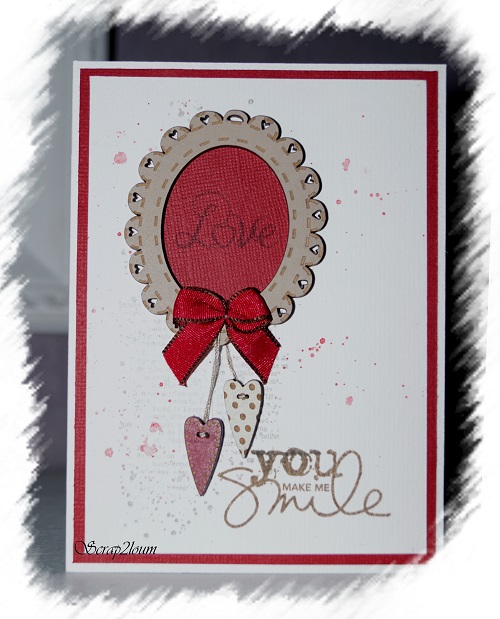
She used the allways loved heart buttons and a linen color mini frame for a little message.
For the creation of the card, Chantal has her little secrets. Here is her blog to discover them!
http://scrap2loum.canalblog.com/
A great creative day to you all!
Delphine
-
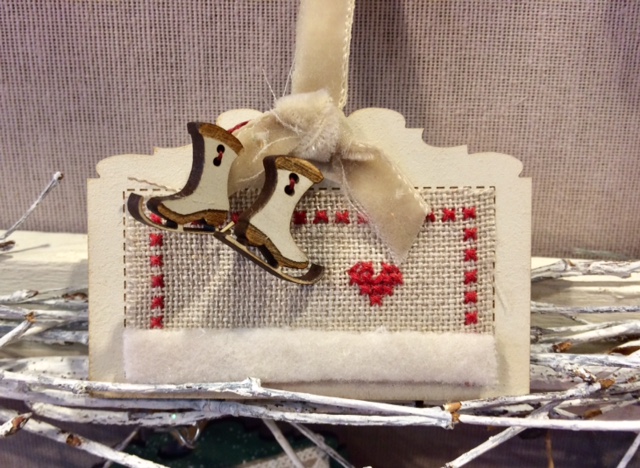
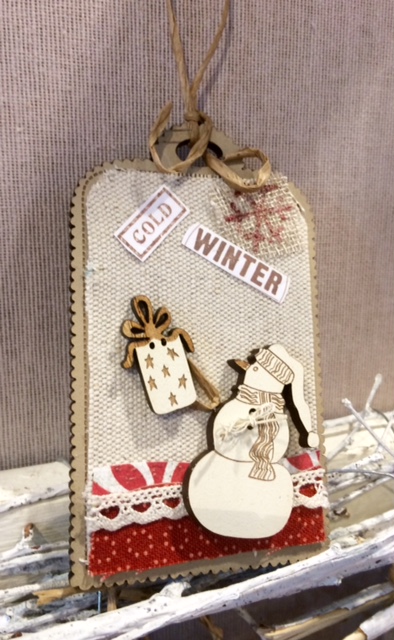
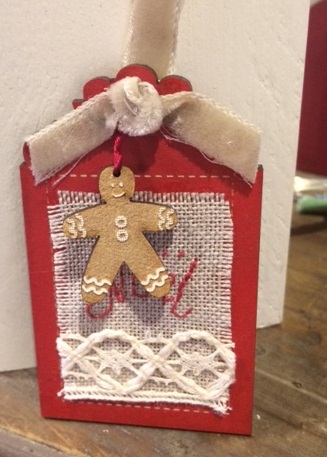
Christmas tags
- On 25/11/2017
 For Christmas, I have decided to create my own tags.
 It is so easy! You need a tag, some fabrics (we all have them right!), nices laces, papers and few buttons.
You cut, and glew them following your creativity.
Here are some of my ideas to help you getting inspired. Find all our items with our retailors.